If your Brother printer displays 'Drum End Soon,' it's time to replace the drum for best print quality. This message indicates the drum unit is reaching the end of its lifespan. Prepare for a replacement to guarantee your printer continues to function efficiently and produce high-quality prints. Remember, timely maintenance is key to avoiding further issues with your printer and achieving consistent results. If you want to learn more about how to check the drum status, reasons for replacement, and extending the drum lifespan, there are valuable insights waiting for you.
Key Takeaways
- Monitor printer settings for drum status.
- Prepare for timely drum replacement.
- Address print quality issues promptly.
- Extend drum lifespan with proper care.
- Consider DIY or professional drum replacement.
Importance of the Drum Unit

The drum unit in your Brother printer plays an important role in transferring toner onto paper for high-quality prints. Proper drum maintenance is essential for ensuring top printer efficiency.
Regularly cleaning the drum unit helps prevent toner buildup, which can lead to smudges or streaks on your prints. To maintain your drum unit, avoid exposing it to direct sunlight or high temperatures, as this can affect its performance.
When handling the drum unit, be gentle to avoid causing any damage that could impact print quality.
Efficient drum maintenance not only extends the lifespan of your drum unit but also enhances overall printer performance. A well-maintained drum unit ensures that toner is evenly distributed on the paper, resulting in crisp and clear prints every time.
Signs of a Failing Drum
Regularly monitor your prints for signs of a failing drum unit to ensure peak printer performance. Proper drum maintenance is essential for ensuring high-quality prints. If you notice any issues like streaks, spots, or uneven print quality, it may indicate a problem with the drum. Troubleshooting these early signs can prevent further damage and maintain excellent printer performance.
Printer performance heavily relies on drum quality. A failing drum can result in poor printouts, including faded areas, smudges, or even blank spots on the pages. These issues not only affect the aesthetics of your documents but also indicate a decline in the drum's functionality. By recognizing these signs early on, you can take necessary steps to address the problem promptly.
Regularly inspecting your prints for abnormalities is a proactive approach to drum maintenance. By staying vigilant and addressing any signs of a failing drum promptly, you can uphold the quality of your prints and extend the lifespan of your printer.
Reasons for Drum Replacement

If you notice any signs of print quality issues or irregularities, consider replacing the drum to maintain peak printer performance. Proper drum maintenance is essential for the efficiency and longevity of your Brother printer.
Over time, the drum in your printer can wear out due to continuous use, leading to decreased print quality. Troubleshooting print quality problems such as streaks, smudges, or faded prints can often be resolved by replacing the drum.
A worn-out drum can negatively impact the overall efficiency of your printer, causing delays and errors in printing jobs. To guarantee top performance, it's vital to monitor the drum lifespan and replace it when necessary.
Regularly checking the drum status and addressing any issues promptly can help extend the lifespan of both the drum and the printer itself. By proactively replacing the drum before it completely fails, you can avoid costly repairs and downtime, keeping your Brother printer running smoothly.
How to Check Drum Status
To determine the drum status on your Brother printer, access the printer's settings menu. Look for the maintenance section where you can find information about the drum maintenance schedule. This will give you an indication of how frequently the drum needs to be checked and potentially replaced.
If your printer indicates that the drum is nearing the end of its lifespan, it might be time to contemplate drum replacement.
When it comes to drum replacement, you have the option to either attempt a do-it-yourself (DIY) replacement or seek professional assistance. DIY drum replacement can be a cost-effective solution if you're comfortable following instructions and have some technical knowledge. However, if you're unsure about the process or want to guarantee proper installation, it may be best to enlist the help of a professional technician who can efficiently replace the drum for you.
Regularly checking the drum status and following the maintenance schedule can help extend the lifespan of your printer drum.
Extending Drum Lifespan

To maximize the drum lifespan requires proper maintenance and timely replacements when necessary. To extend the life of your printer drum, follow these drum maintenance tips.
To start, keep the printer clean by regularly removing any dust or debris that may accumulate on the drum surface. Avoid exposing the drum unit to direct sunlight or extreme temperatures, as this can affect its performance. Additionally, only use high-quality paper to prevent paper dust from accumulating inside the printer.
When it comes to drum replacement alternatives, consider investing in a drum reset gear. This gear helps reset the drum's counter, allowing you to continue using the drum beyond its designated lifespan.
Another alternative is to opt for drum reconditioning services. These services can refurbish your existing drum unit, saving you money on purchasing a brand-new one.
Steps to Replace Drum Unit
Consider these straightforward steps to effectively replace the drum unit in your Brother printer. To begin, make sure your printer is turned off and unplugged for safety.
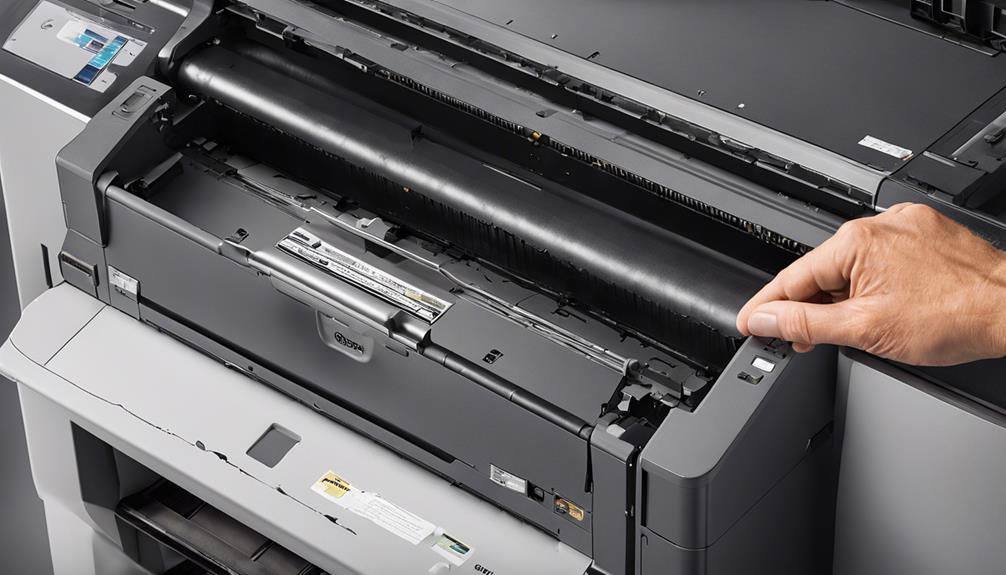
Open the front cover of the printer to access the drum unit and toner cartridge assembly. Take out the old drum unit by gently pulling it towards you. Next, unpack the new drum unit from its packaging and remove any protective materials.
Slide the new drum unit into the printer, making sure it's securely in place. Close the front cover of the printer.
If you encounter any issues during the drum unit installation, here are some troubleshooting tips. Double-check that the drum unit is compatible with your printer model.
Ensure it's installed correctly by following the manufacturer's instructions. If you continue to receive error messages after installation, try restarting the printer. If the problem persists, contact Brother customer support for further assistance.
Troubleshooting 'Drum End Soon' Message

If your Brother printer is displaying a 'Drum End Soon' message, it's important to troubleshoot this issue promptly to guarantee continued smooth operation. Drum maintenance plays a significant role in ensuring high-quality prints.
Begin by turning off the printer and removing the drum unit and toner cartridge assembly. Gently rock the assembly from side to side to distribute the toner evenly. Reinstall the drum unit and toner cartridge and check if the message persists.
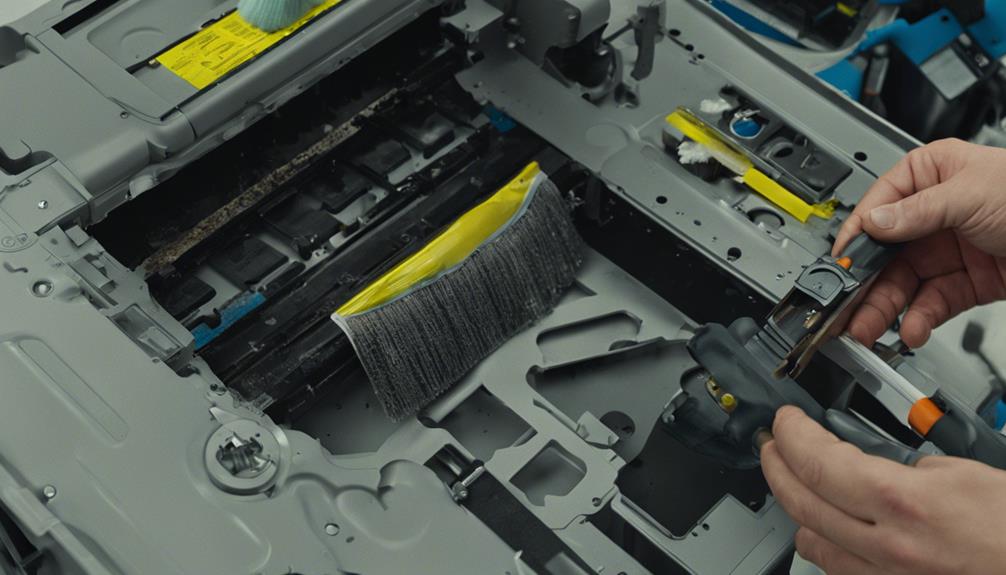
If the 'Drum End Soon' message continues to display, the printer error may require further troubleshooting. Check for any visible damage to the drum unit or toner cartridge. Clean the corona wire inside the drum unit by gently sliding the green tab from left to right several times.
If the message remains, consider resetting the drum counter. To do this, press the 'Clear/Back' button on the printer, select 'Drum', and then press '1' to reset the counter.
Conclusion
Don't ignore the 'Drum End Soon' message on your Brother printer. By understanding the importance of the drum unit, recognizing signs of failure, and following proper maintenance and replacement steps, you can keep your printer running smoothly and avoid costly repairs.
Stay proactive and take care of your printer's drum unit to guarantee high-quality prints every time.