To confirm compatibility between your Brother printer and your Mac, first check if the printer is compatible with your Mac system. Download the latest software from the official Brother website, then follow the on-screen instructions for installation. Connect your printer to your Mac using a USB cable or wireless network setup. Load your document on the scanning glass, adjust scan settings, and select your desired scan settings on the printer. After scanning, save the scanned file on your Mac for easy access. By following these steps, you'll be scanning effortlessly in no time!
Key Takeaways
- Place document on scanner glass, aligning it properly.
- Access scanning settings on Brother printer's control panel.
- Choose scan resolution, file format, and color options.
- Preview scan before saving to Mac.
- Close scanner lid gently after scanning.
Brother Printer and Mac Compatibility
To guarantee seamless scanning, confirm that your Brother printer is compatible with your Mac system. Troubleshooting printer issues can often be linked to compatibility problems between the printer and your Mac. It's important to make sure that the printer model you have is designed to work with Mac operating systems to avoid any potential hiccups.
Optimizing printing performance on your Mac requires having a Brother printer that's fully compatible with the macOS version you're using. Compatibility issues can lead to printing delays, errors, or even the inability to print altogether. By verifying compatibility before attempting to scan from your Brother printer to your Mac, you can prevent these frustrating scenarios.
If you encounter any issues, it's recommended to check the Brother website for updated drivers or software that may resolve compatibility problems. Keeping your printer software up to date is essential for ensuring smooth operations between your Brother printer and Mac system.
Install Brother Printer Software on Mac
Installing the Brother printer software on your Mac is crucial for seamless printing and scanning functionality. To begin, visit the official Brother website and download the latest software for your specific printer model.
Once downloaded, double-click the installer file and follow the on-screen instructions to complete the installation process.
When troubleshooting printer connections, make sure that your Mac and printer are connected to the same network. If you encounter any issues, try restarting both your Mac and the printer, as this can often resolve connectivity issues.
It's also important to keep your printer firmware up to date to guarantee peak performance. Periodically check for firmware updates on the Brother website and follow the instructions to update your printer's firmware. Updated firmware can often address bugs or connectivity issues that may be affecting your printing or scanning capabilities.
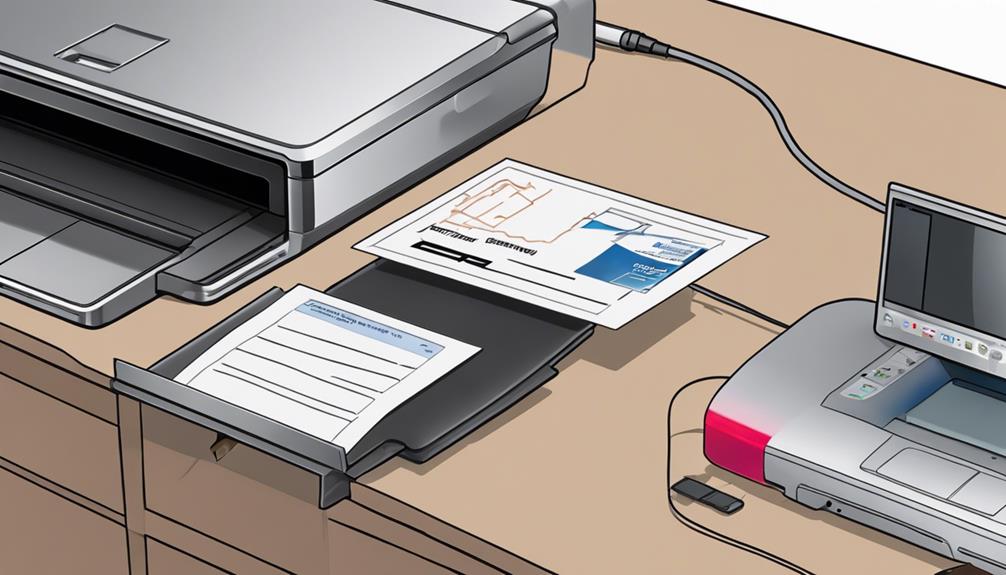
Connect Brother Printer to Mac
Start by connecting your Brother printer to your Mac using a USB cable or through a wireless network setup. For a USB connection, simply plug one end of the cable into your printer and the other end into an available USB port on your Mac.
To set up a wireless connection, make sure your printer and Mac are connected to the same Wi-Fi network. Follow the printer's manual or the manufacturer's website for specific instructions on how to connect wirelessly.
If you encounter any connectivity issues, try restarting both your printer and Mac, making certain they're in close proximity, and checking for any software updates. Troubleshooting connectivity problems can often resolve any issues you may be experiencing.
For a seamless wireless printing setup, consider using the Brother iPrint&Scan app, which allows you to print and scan directly from your Mac to your Brother printer over the network. This app streamlines the process and enhances the overall printing experience.
Load Document or Photo for Scanning
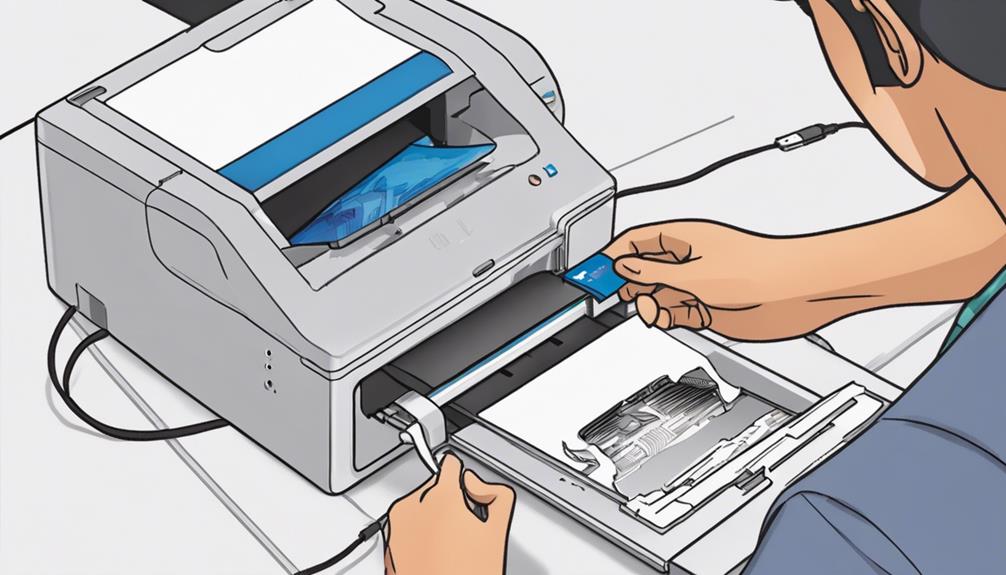
Place the document or photo you want to scan face down on the Brother printer's scanning glass. Make sure that the edges of the document are aligned with the guidelines on the glass for accurate scanning. Once the document is in place, close the scanner lid gently to avoid moving the document.
Before initiating the scan, it's crucial to adjust the scan settings according to your preferences. You can modify settings such as color mode, resolution, file format, and more to suit your scanning needs. This step ensures that the scanned document meets your requirements.
If you encounter any issues while scanning, such as poor scan quality or documents not feeding correctly, try troubleshooting the problem. Check for paper jams, confirm the document is loaded correctly, and verify that the printer drivers are up to date. Troubleshooting common scanning issues promptly can help you achieve successful scans.
Select Scan Settings on Brother Printer
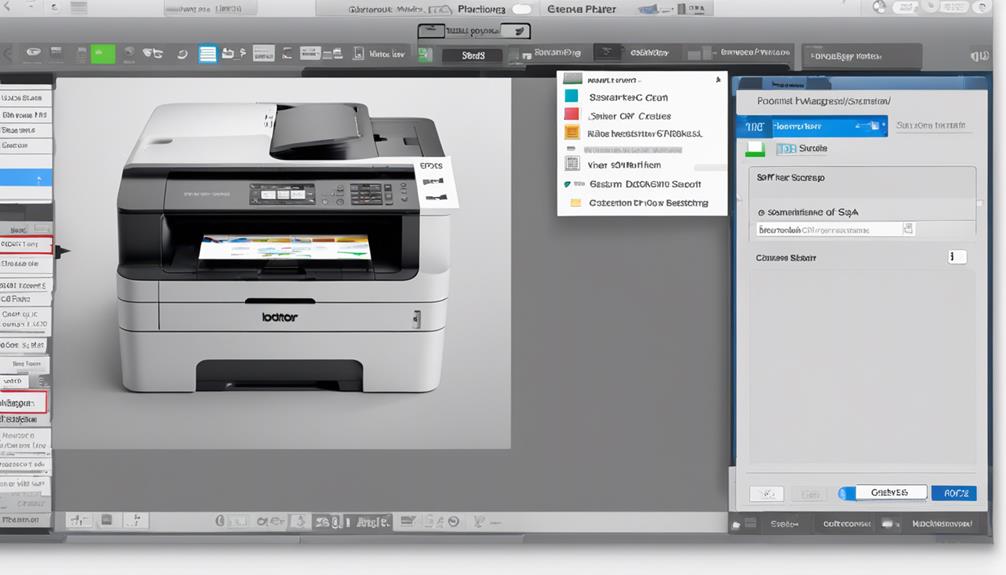
To adjust the scan settings on your Brother printer, locate the scan settings menu on the printer's control panel. Here you can customize various options to meet your scanning needs. Below is a table outlining key settings you can adjust:
| Scan Setting | Options | Description |
|---|---|---|
| Adjusting Resolution | Low (150 dpi), Medium (300 dpi), High (600 dpi) | Choose the desired resolution for your scan. |
| Choosing File Format | PDF, JPEG, TIFF | Select the file format in which you want the scan to be saved. |
| Previewing Scan | Enable, Disable | Preview the scan before saving to make sure it meets your criteria. |
| Adjusting Color Settings | Color, Black & White, Custom | Modify color settings to capture the scan as needed. |
Scan Document or Photo to Mac
How can you easily scan a document or photo from your Brother printer to your Mac?
To start, make sure your Brother printer is connected to your Mac and powered on. Place the document or photo you want to scan on the scanner glass or into the automatic document feeder of your printer.
Next, open the scanning software on your Mac and select the scanning preferences such as color mode, resolution, and file format. If you encounter any troubleshooting scanning issues, confirm that both your printer and Mac are on the same network and that the drivers are up to date.
When ready, hit the scan button on the software, and your document or photo will be scanned directly to your Mac.
If you need to scan multiple pages, select the option to continue scanning additional pages before saving the final document. This way, you can easily combine all scanned pages into one file.
Save Scanned File on Mac
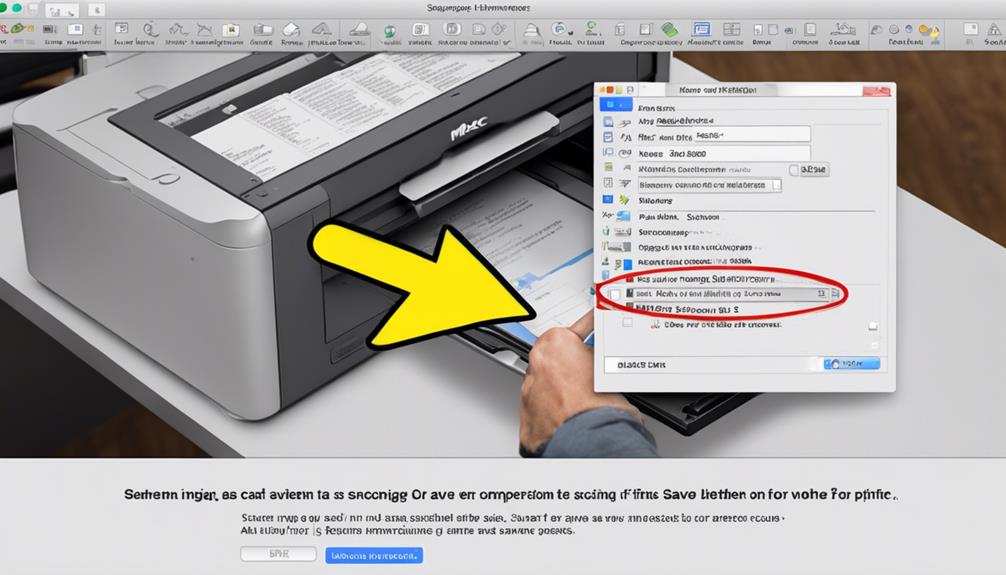
You can easily save the scanned file on your Mac by selecting the desired location and file format in the scanning software. When saving your scanned files, consider your file organization to keep everything neat and easily accessible.
Most scanning software allows you to choose where you want to save the file, whether it's on your desktop, in a specific folder, or directly to a cloud storage service like Google Drive or Dropbox for added convenience.
Ensure you select the appropriate file format based on your needs. For documents, PDF is often the preferred choice due to its universal compatibility and ease of sharing. If you're scanning images and want to preserve the highest possible image quality, consider saving them in formats like JPEG or PNG.
Conclusion
Now you know how to easily scan from your Brother printer to your Mac. By following these simple steps, you can quickly and efficiently scan documents and photos directly to your Mac computer.
Make sure to properly install the Brother printer software, connect your printer to your Mac, and select the appropriate scan settings for the best results.
Enjoy the convenience of scanning directly to your Mac with your Brother printer.